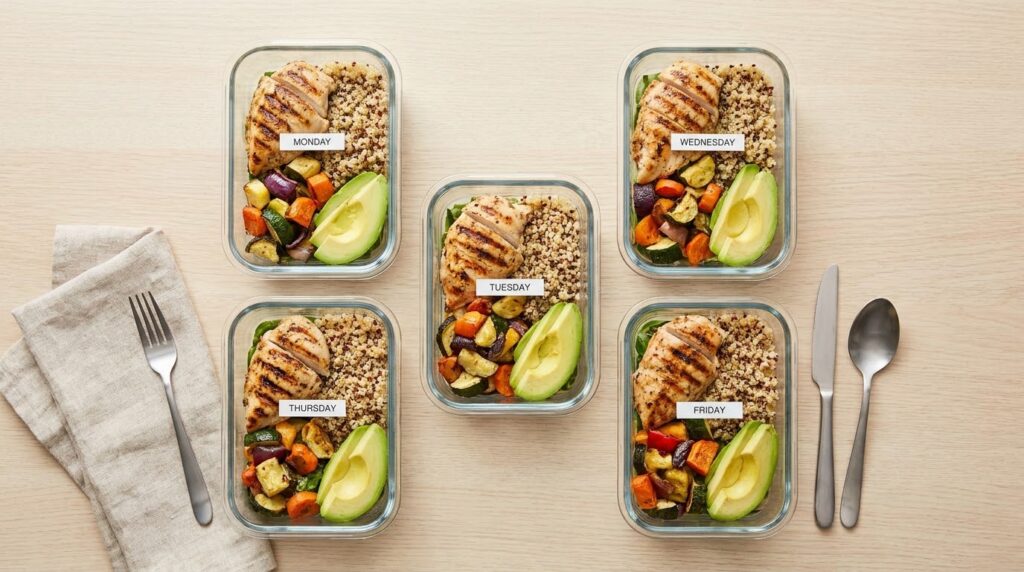
The simplest weekly meal-prep method is to cook a few building blocks in one session, such as a grain, a tray of roast vegetables, a protein and a sauce, then mix them into different meals through the week. Cooking components instead of five identical boxed lunches keeps food interesting and cuts the time you spend in the kitchen on busy evenings. The method below takes about two hours on a weekend afternoon and covers most lunches and dinners for four or five days.
Table Of Content
Step 1: Plan Four Meals, Not Seven
Plan four main meals for the week and leave the other evenings for leftovers, eating out or something quick. Planning every single meal tends to fall apart by Thursday, while four meals with spare portions is realistic.
Pick meals that share ingredients. If you roast a tray of peppers, onions and courgettes, they can go into a grain bowl on Monday, a pasta sauce on Tuesday and wraps on Wednesday. One pot of cooked lentils or beans can become a soup, a salad and a filling for baked potatoes.
Check what you already have in the fridge, freezer and cupboard before you write the plan. Building one meal around food that needs using up is the easiest way to waste less.
Step 2: Write a Shopping List by Shop Section
Group your shopping list by where things sit in the shop: fresh produce, meat and fish, dairy, dry goods and frozen food. You walk each aisle once, and you are less likely to forget something or pick up extras you do not need.
Buy hardier vegetables for the end of the week. Carrots, cabbage, peppers and root vegetables keep well in the fridge, while salad leaves and soft herbs are best eaten in the first few days.
Step 3: Cook in the Right Order
Start whatever takes longest first, so the oven and the hob are working at the same time while you chop. A good order for a two-hour session looks like this:
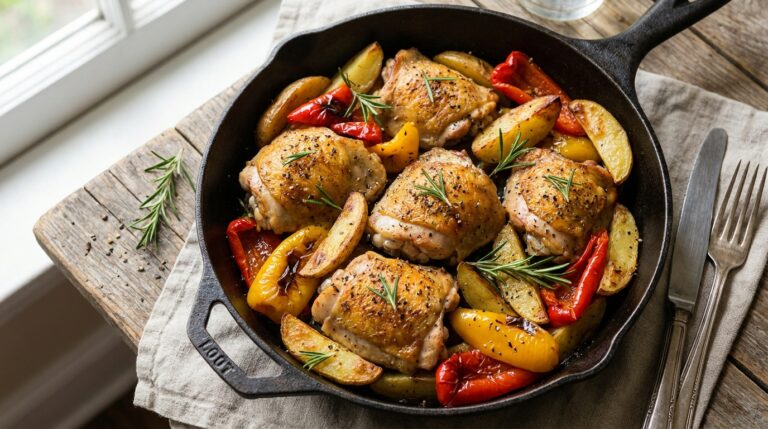
- Heat the oven and put in a tray of vegetables and a tray of chicken thighs, tofu or chickpeas to roast.
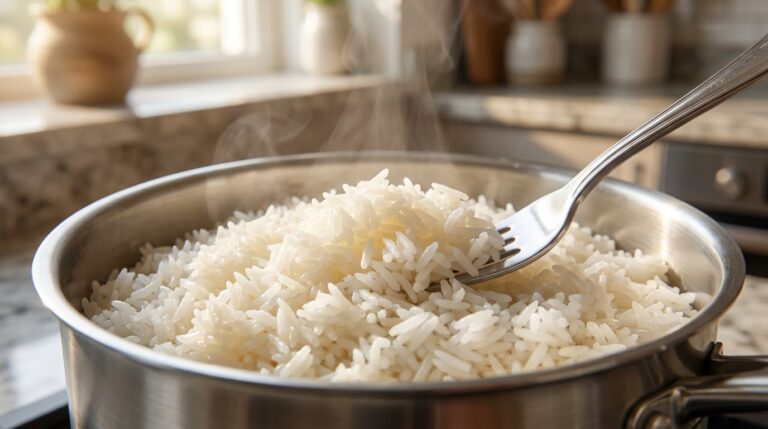
- Start a pot of grains on the hob, such as rice, quinoa or pasta, or a pot of lentils.
- While these cook, wash and chop raw vegetables for salads and snacks.
- Make one or two sauces or dressings, such as a yoghurt and herb sauce or a simple vinaigrette.
- Hard-boil a few eggs if you like them for breakfast or lunch.
- Wash up as you go, so the session ends with a clean kitchen.
Season the base components lightly. You can add strong flavours later with sauces, spices or a squeeze of lemon, which lets the same roast vegetables taste different on different days.
Step 4: Cool and Store Food Safely
Get cooked food into the fridge within two hours of cooking, as the US Department of Agriculture (USDA) advises; the UK’s Food Standards Agency (FSA) gives a window of one to two hours. Bacteria grow quickly between 40°F and 140°F (about 4°C and 60°C), which the USDA calls the danger zone.
To cool food faster, divide large batches into shallow containers instead of leaving a deep pot to cool on the hob. Leave lids slightly open until the food stops steaming, then close them and put the containers in the fridge.
Keep your fridge cold. The USDA says 40°F (4°C) or below, and the FSA says between 0°C and 5°C. A cheap fridge thermometer shows you whether your fridge is really at that temperature.
How Long Prepped Food Keeps
| Food | Fridge | Guidance from |
|---|---|---|
| Cooked leftovers in general | 3 to 4 days | USDA |
| Cooked leftovers in general | Within 2 days | UK Food Standards Agency |
| Cooked rice | Within 24 hours | Food Standards Scotland and the FSA |
| Cooked leftovers, frozen | 3 to 4 months for best quality | USDA |
The US and UK advice differs, so follow the guidance used where you live, and if in doubt use the shorter time. A practical rule is to keep the first two or three days of meals in the fridge and freeze the portions for later in the week. Move a frozen portion to the fridge the night before you want it; the FSA says defrosting in the fridge is safest, and to eat the food within 24 hours once it has fully defrosted.
Label every container with what is inside and the day you cooked it. A strip of masking tape and a marker pen is all you need.
Step 5: Mix and Match Through the Week
Each day, take a few components and put them together in a new way. The sample week below uses one cooking session:
| Day | Meal | Components used |
|---|---|---|
| Monday | Grain bowl with yoghurt sauce | Rice, roast vegetables, chicken or chickpeas, herb sauce |
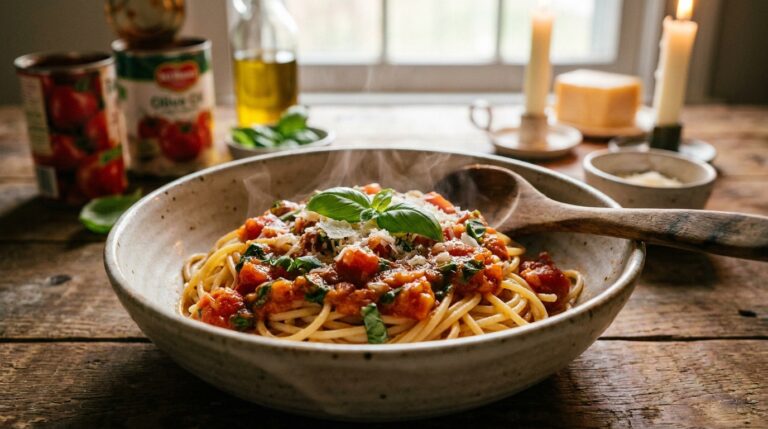
| Tuesday | Pasta with roast vegetable sauce | Pasta, roast vegetables blended with a tin of tomatoes |
| Wednesday | Wraps | Chicken or chickpeas, raw chopped vegetables, sauce |
| Thursday | Soup | Lentils, leftover vegetables, stock (from the freezer) |
| Friday | Free night | Use up whatever is left |
Reheat Until Steaming Hot
Reheat prepped food until it is steaming hot all the way through, as the FSA advises. Stir food while it reheats in a microwave, because the FSA notes it can be very hot at the edges and still cold in the centre.
Only reheat the portion you plan to eat, rather than heating the whole container and putting the rest back. The FSA advises reheating leftovers only once, and Food Standards Scotland gives the same advice for rice, so split food into single portions before it goes in the fridge.
Containers and Small Tools That Help
A set of stackable containers in two or three sizes is the one thing worth buying for meal prep. Glass containers can usually go from fridge to microwave and do not hold on to smells, while plastic ones are lighter to carry to work. Check the label to see whether a container is safe for the microwave, freezer and dishwasher.
Small jars work well for sauces and dressings, which keep salads from going soggy if you add them just before eating. Two baking trays and a large pot cover almost all the cooking. Start with this simple setup for a few weeks, then adjust the amounts once you know how much your household actually eats.