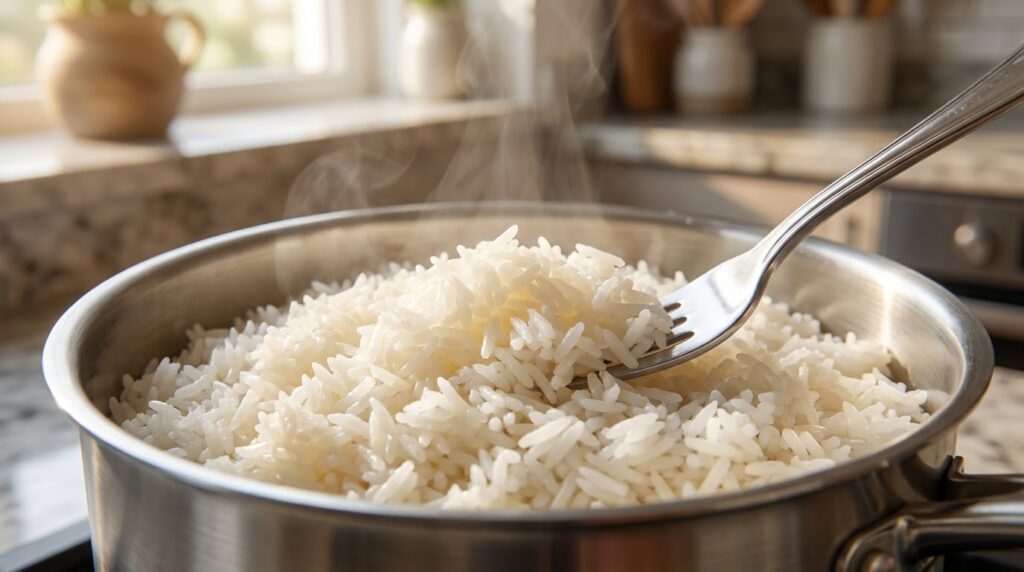
To cook fluffy rice on the stove, measure the rice and water, bring them to the boil, then cover the pan tightly and simmer on the lowest heat without lifting the lid until the water is absorbed. Let it stand off the heat for a few minutes, then fluff it with a fork. The details that make the difference are the ratio of water, a lid that fits and leaving the pan alone while it cooks.
Table Of Content
What You Need
You need a heavy saucepan with a tight-fitting lid, a measuring cup and a fork. A heavy base spreads the heat evenly, which stops the bottom layer of rice from burning before the top is cooked. USA Rice, the US rice industry group, suggests a 2 to 3 quart pan (roughly 2 to 3 litres) for a cup or two of rice.
Rice roughly triples in volume as it cooks, according to USA Rice, so 1 cup of uncooked rice gives about 3 cups cooked. That is enough for two to three people as a side dish.
Get the Water Ratio Right
Use about 2 parts water to 1 part rice by volume as a starting point; this is USA Rice’s general guide for most white rice. Different types need a little more or a little less, and brown rice takes much longer because the outer bran layer is still on the grain. The packet instructions for your rice are always worth reading too.
| Rice type | Water per 1 cup rice | Simmer time (covered) |
|---|---|---|
| Long-grain white | About 2 cups | About 20 minutes |
| Jasmine or basmati | About 2 cups | 15 to 18 minutes |
| Parboiled (converted) | Check the packet | 25 to 30 minutes |
| Brown rice | 2 to 2½ cups | 40 to 45 minutes |
Times and amounts are from USA Rice guidance. If you like firmer, more separate grains, try reducing the water a little next time, by a few tablespoons per cup. Change only one thing at a time so you can tell what worked.
To Rinse or Not to Rinse
Rinsing is a choice, and it depends on the rice and the result you want. Rinsing washes away loose surface starch, and many cooks rinse basmati and jasmine rice in a few changes of cold water until it runs almost clear, to get less sticky grains.
USA Rice points out that most white rice grown in the US is enriched with added iron and B vitamins such as niacin, thiamin and folic acid, and that rinsing it washes some of these away. If your rice packet says it is enriched, you may prefer to skip rinsing. If you do rinse, drain the rice well so the extra water does not throw off your ratio.
Step-by-Step Stovetop Method
1. Measure and Combine
Put 1 cup of rice into the pan with 2 cups of cold water, about half a teaspoon of salt and, if you like, a small knob of butter or a teaspoon of oil. Stir once to spread the grains out evenly.
2. Bring to the Boil
Heat the pan on high, uncovered, until the water reaches a full boil. Give it one more gentle stir so no grains are stuck to the base.
3. Cover and Simmer
Turn the heat to the lowest setting, put the lid on and set a timer for the time in the table. Do not lift the lid and do not stir. The steam trapped in the pan does much of the cooking, and every time you lift the lid some of it escapes.
4. Rest Off the Heat
When the timer goes, take the pan off the heat and leave the lid on for about 5 to 10 minutes. The rice keeps steaming gently, the moisture spreads evenly through the grains and the bottom layer loosens from the pan.
5. Fluff and Serve
Lift the lid and fluff the rice with a fork, lifting from the bottom so steam can escape and the grains stay separate. USA Rice suggests that if the rice is not quite tender or some water is left, you put the lid back and cook it for two to four minutes longer.
Set a timer and walk away. Lifting the lid to check lets the steam out, which can leave rice crunchy on top and wet underneath.
Fixing Common Problems
Most rice problems come from too much or too little water, or from heat that is too high. Use this list to adjust next time:
- Mushy or sticky rice: use a little less water, try rinsing, and do not stir while it simmers.
- Hard or crunchy grains: add 2 to 3 tablespoons of hot water, cover and cook on low for a few more minutes.
- Burnt bottom: the heat was too high or the pan too thin. Turn the heat to the lowest setting and use a heavier pan.
- Water left in the pan: cook a few minutes longer with the lid on, or drain it off and let the rice stand covered.
Storing and Reheating Cooked Rice Safely
Cool leftover rice quickly and eat it within a day. Uncooked rice can contain spores of a bacterium called Bacillus cereus, which can survive cooking. If cooked rice is left warm for too long, the spores can grow and produce toxins that cause food poisoning.
Food Standards Scotland, the public food safety body for Scotland, gives these simple rules, and the UK’s Food Standards Agency also advises reheating leftovers only once:
- Cool the rice as quickly as possible, ideally within 1 hour. Spread it out on a tray or split it into small containers to speed this up.
- Put it in the fridge as soon as it has cooled.
- Eat it within 24 hours.
- Reheat it until it is steaming hot all the way through.
- Never reheat rice more than once.
Cold cooked rice is fine to eat, according to Food Standards Scotland, as long as it was cooled quickly, kept in the fridge and eaten within 24 hours. Day-old rice from the fridge is also ideal for fried rice, because the grains have dried out a little and fry without turning to mush.