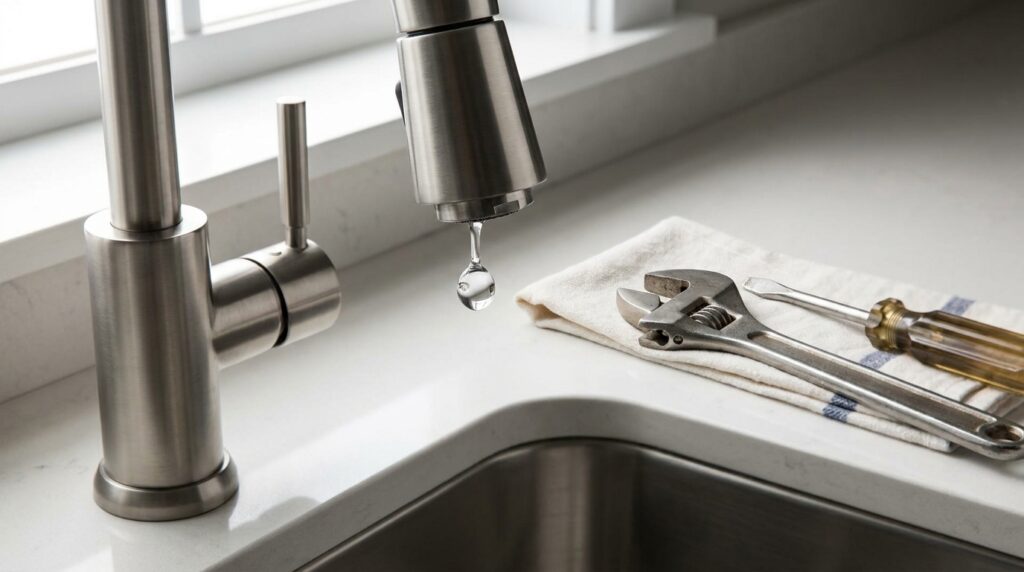
Most dripping taps are fixed by turning off the water to the tap and replacing a worn part inside it: a rubber washer in older taps, or a ceramic cartridge in most modern ones. The job needs basic tools and a matching replacement part from a hardware or plumbing shop. If your tap or pipes look different from what is described here, or any step feels unsafe, stop and call a plumber.
Table Of Content
Why a Small Drip Is Worth Fixing
A slow drip wastes more water than you might think. The US Environmental Protection Agency’s WaterSense programme says a tap leaking at one drip per second can waste more than 3,000 gallons a year, which is over 11,000 litres. In most cases the fix means replacing one small part, not the whole tap.
Find Out Which Type of Tap You Have
The repair depends on what is inside the tap, and you can usually tell from the way the handle turns.
| Tap type | How it turns | Usual cause of a drip | Usual fix |
|---|---|---|---|
| Compression tap | Several full turns from off to fully on | A worn or hardened rubber washer | Replace the washer |
| Ceramic disc tap | A quarter or half turn | A worn, cracked or scaled cartridge | Replace the cartridge |
| Single-lever mixer | One lever controls flow and temperature | A worn cartridge or seals | Replace the cartridge, which is often specific to the brand |
If water leaks from around the handle or the base of the tap rather than the spout, the problem is often a worn seal or O-ring rather than the washer or cartridge.
Turn Off the Water First
Never take a tap apart with the water supply on. Look under the sink or basin for a small isolation valve on the pipe that feeds the tap. Many of these have a slot: turning it a quarter turn with a flat-head screwdriver, so the slot sits across the pipe, shuts off the water to that tap only.
If there is no isolation valve, or it won’t turn, shut off the main stopcock (the main water valve for your home). In many homes it sits under the kitchen sink, but it can also be near the front door, in a utility room or outside. It’s worth finding it now, before an emergency.
Then open the tap fully to drain the water left in the pipe, and put the plug in the sink so small screws can’t drop down the drain.
Tools and Parts You Will Need
- An adjustable spanner (wrench)
- Flat-head and cross-head screwdrivers
- A replacement washer or cartridge that matches your tap
- A soft cloth to protect the tap’s finish from spanner marks
- A small dish to hold screws and parts in the order they came out
Take the old washer or cartridge with you to the shop, or note the brand and model of the tap, so you get an exact match. Cartridges vary a lot between makers.
Replacing the Washer in a Compression Tap
A compression tap is the more traditional design, and the washer sits at the bottom of the part that screws into the tap body. Work through it like this:
- Prise off the decorative cap on top of the handle with a flat screwdriver, then undo the screw underneath and lift off the handle.
- Wrap the cloth around the large nut below the handle (the headgear nut) and loosen it with the spanner. Hold the tap body steady with your other hand so you don’t twist the pipe.
- Lift out the headgear. The washer is at the bottom, usually held on by a small nut.
- Remove the nut and the old washer, fit a new washer of the same size and refit the nut.
- Put the tap back together in reverse order, firm but not overtightened.
Replacing a Ceramic Cartridge
Ceramic cartridges can’t really be repaired, so you swap the whole cartridge. Remove the handle as above, then unscrew the cartridge with the spanner. Note which way round it sits, because the new one has to line up with the notches or slots in the tap body.
Fit the new cartridge in the same position, tighten it firmly but not with force, and refit the handle. On a mixer tap, check that hot and cold are on the correct sides before you finish.
Lay the parts on a cloth in the order you remove them, or take a photo at each stage. Putting the tap back together then means following your own pictures in reverse.
Turn the Water Back On and Test
Close the tap, then slowly reopen the isolation valve or stopcock. Turn the tap on and off a few times, and watch the spout and the base for a few minutes. Look under the sink as well, in case any joints have started to drip.
If the tap still drips, the seat inside the tap body may be worn or scaled, or the new part may not be an exact match. Fixing a worn seat needs a special tool, so this is a good point to call a plumber.
When to Call a Plumber Instead
Some leaks are a job for a professional from the start. Call a qualified plumber if:
- You can’t find the isolation valve or main stopcock, or it won’t turn.
- A nut or part is seized and won’t move without heavy force.
- Water is leaking from the pipes under the sink, not just from the tap.
- The tap is old, brittle or badly corroded.
- The leak is coming from a pipe inside a wall, ceiling or floor.
- You have any doubt about what you are looking at.
If water is leaking fast and you can’t stop it, turn off the main stopcock straight away and then call for help. If water has reached sockets, lights or electrical appliances, keep away from them and call a qualified electrician as well as a plumber.